
Build a Raised Garden from Scrap Pallets!

Project Difficulty:
Project Requirements
Hammer
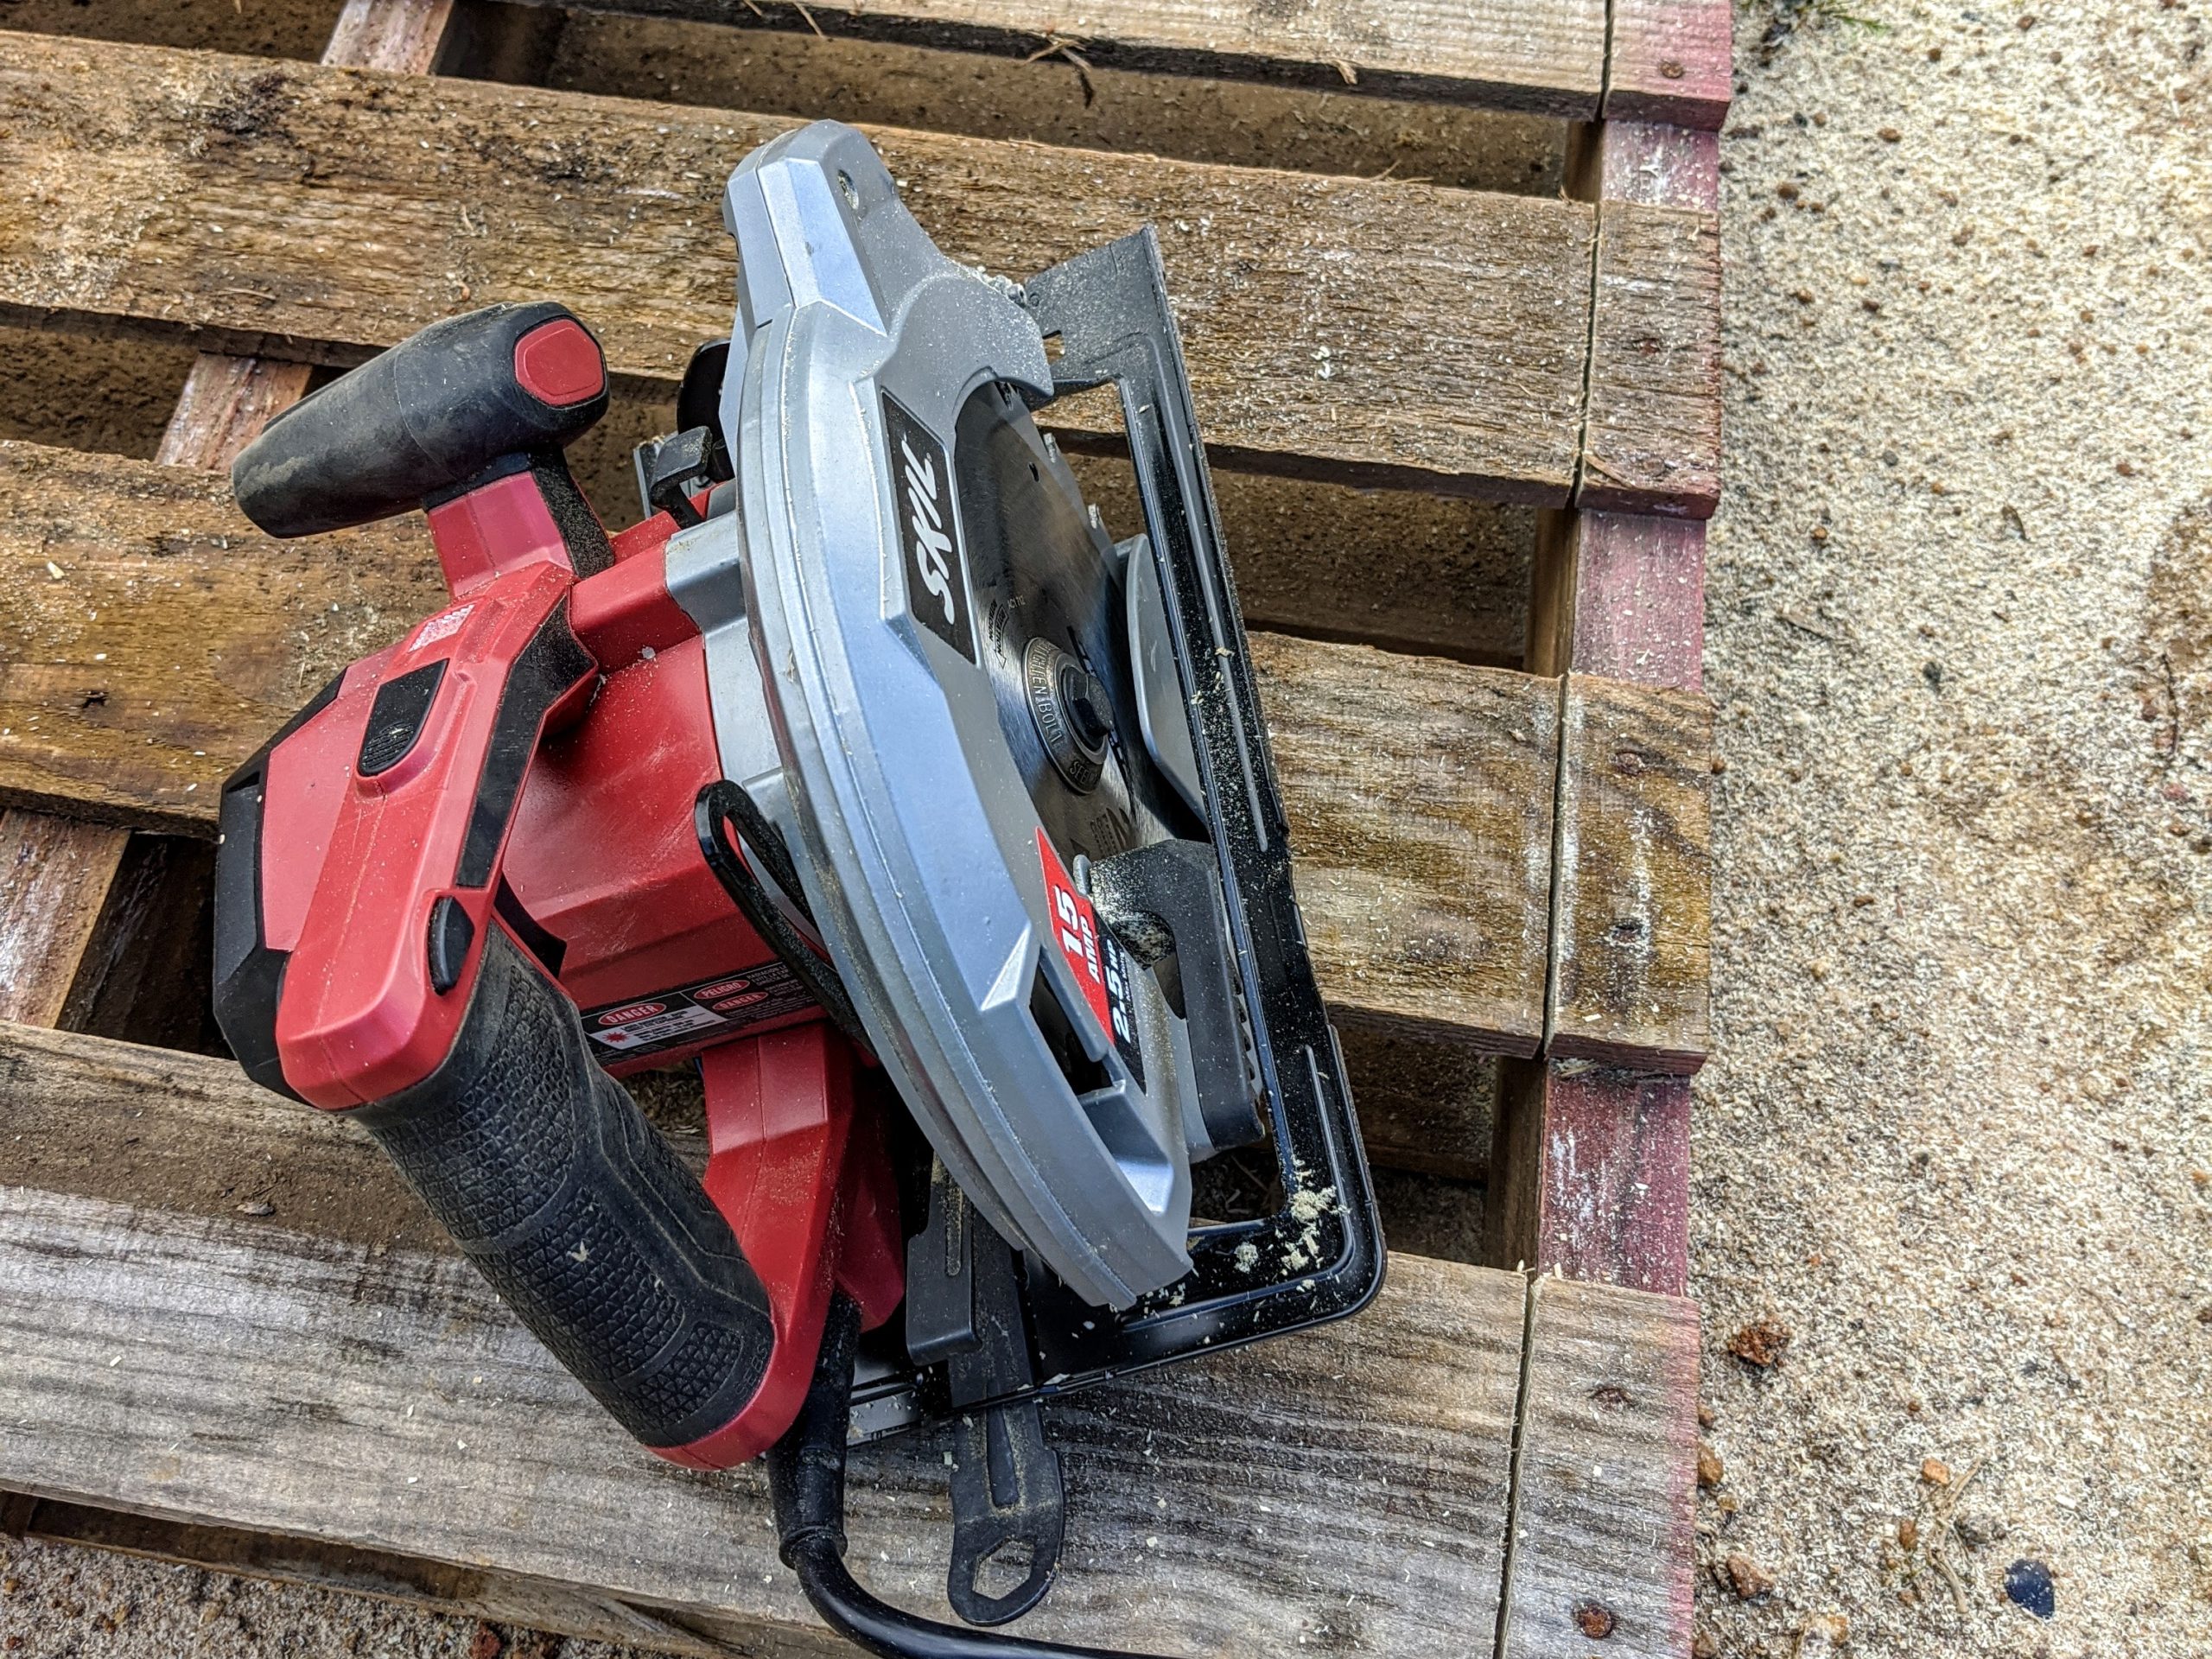
Circular Saw
Drill
4 Pallets (actual number depends on your size requirements and pallets)
4 – 2 x 4 x 8 pressure treated wood
1 box of 1/4 inch construction screws
1 box of 2 1/2 inch construction screws
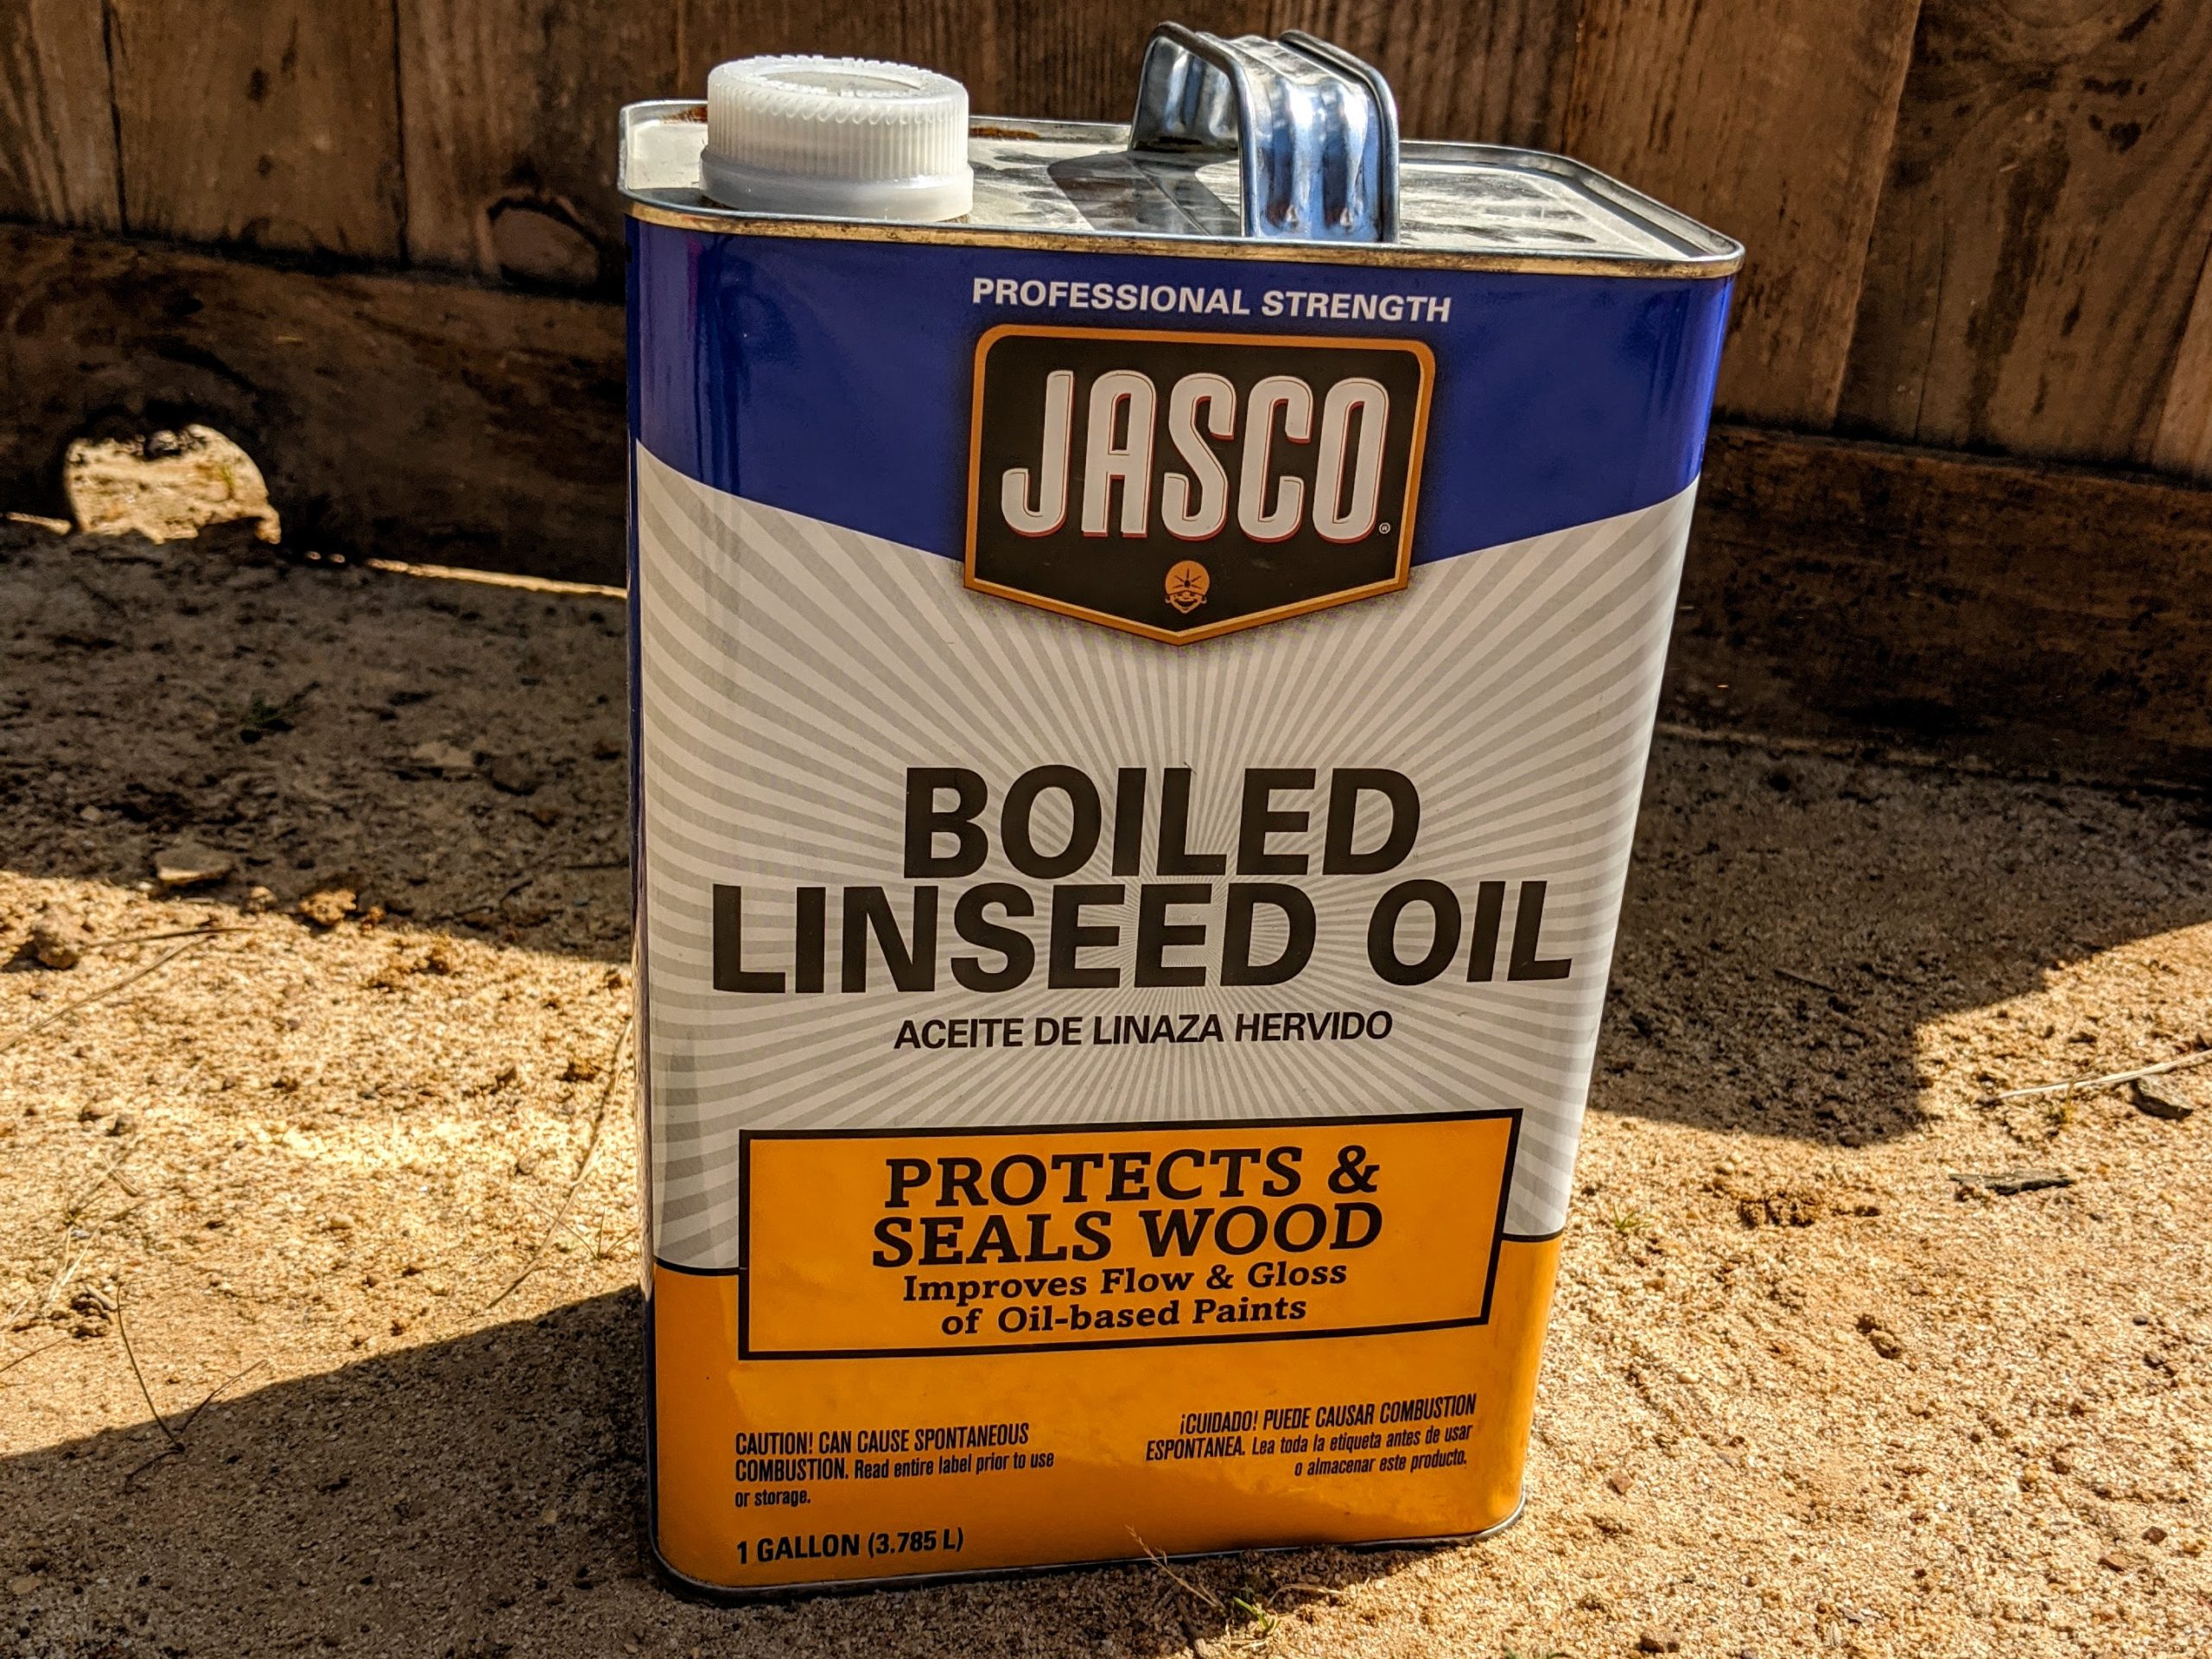
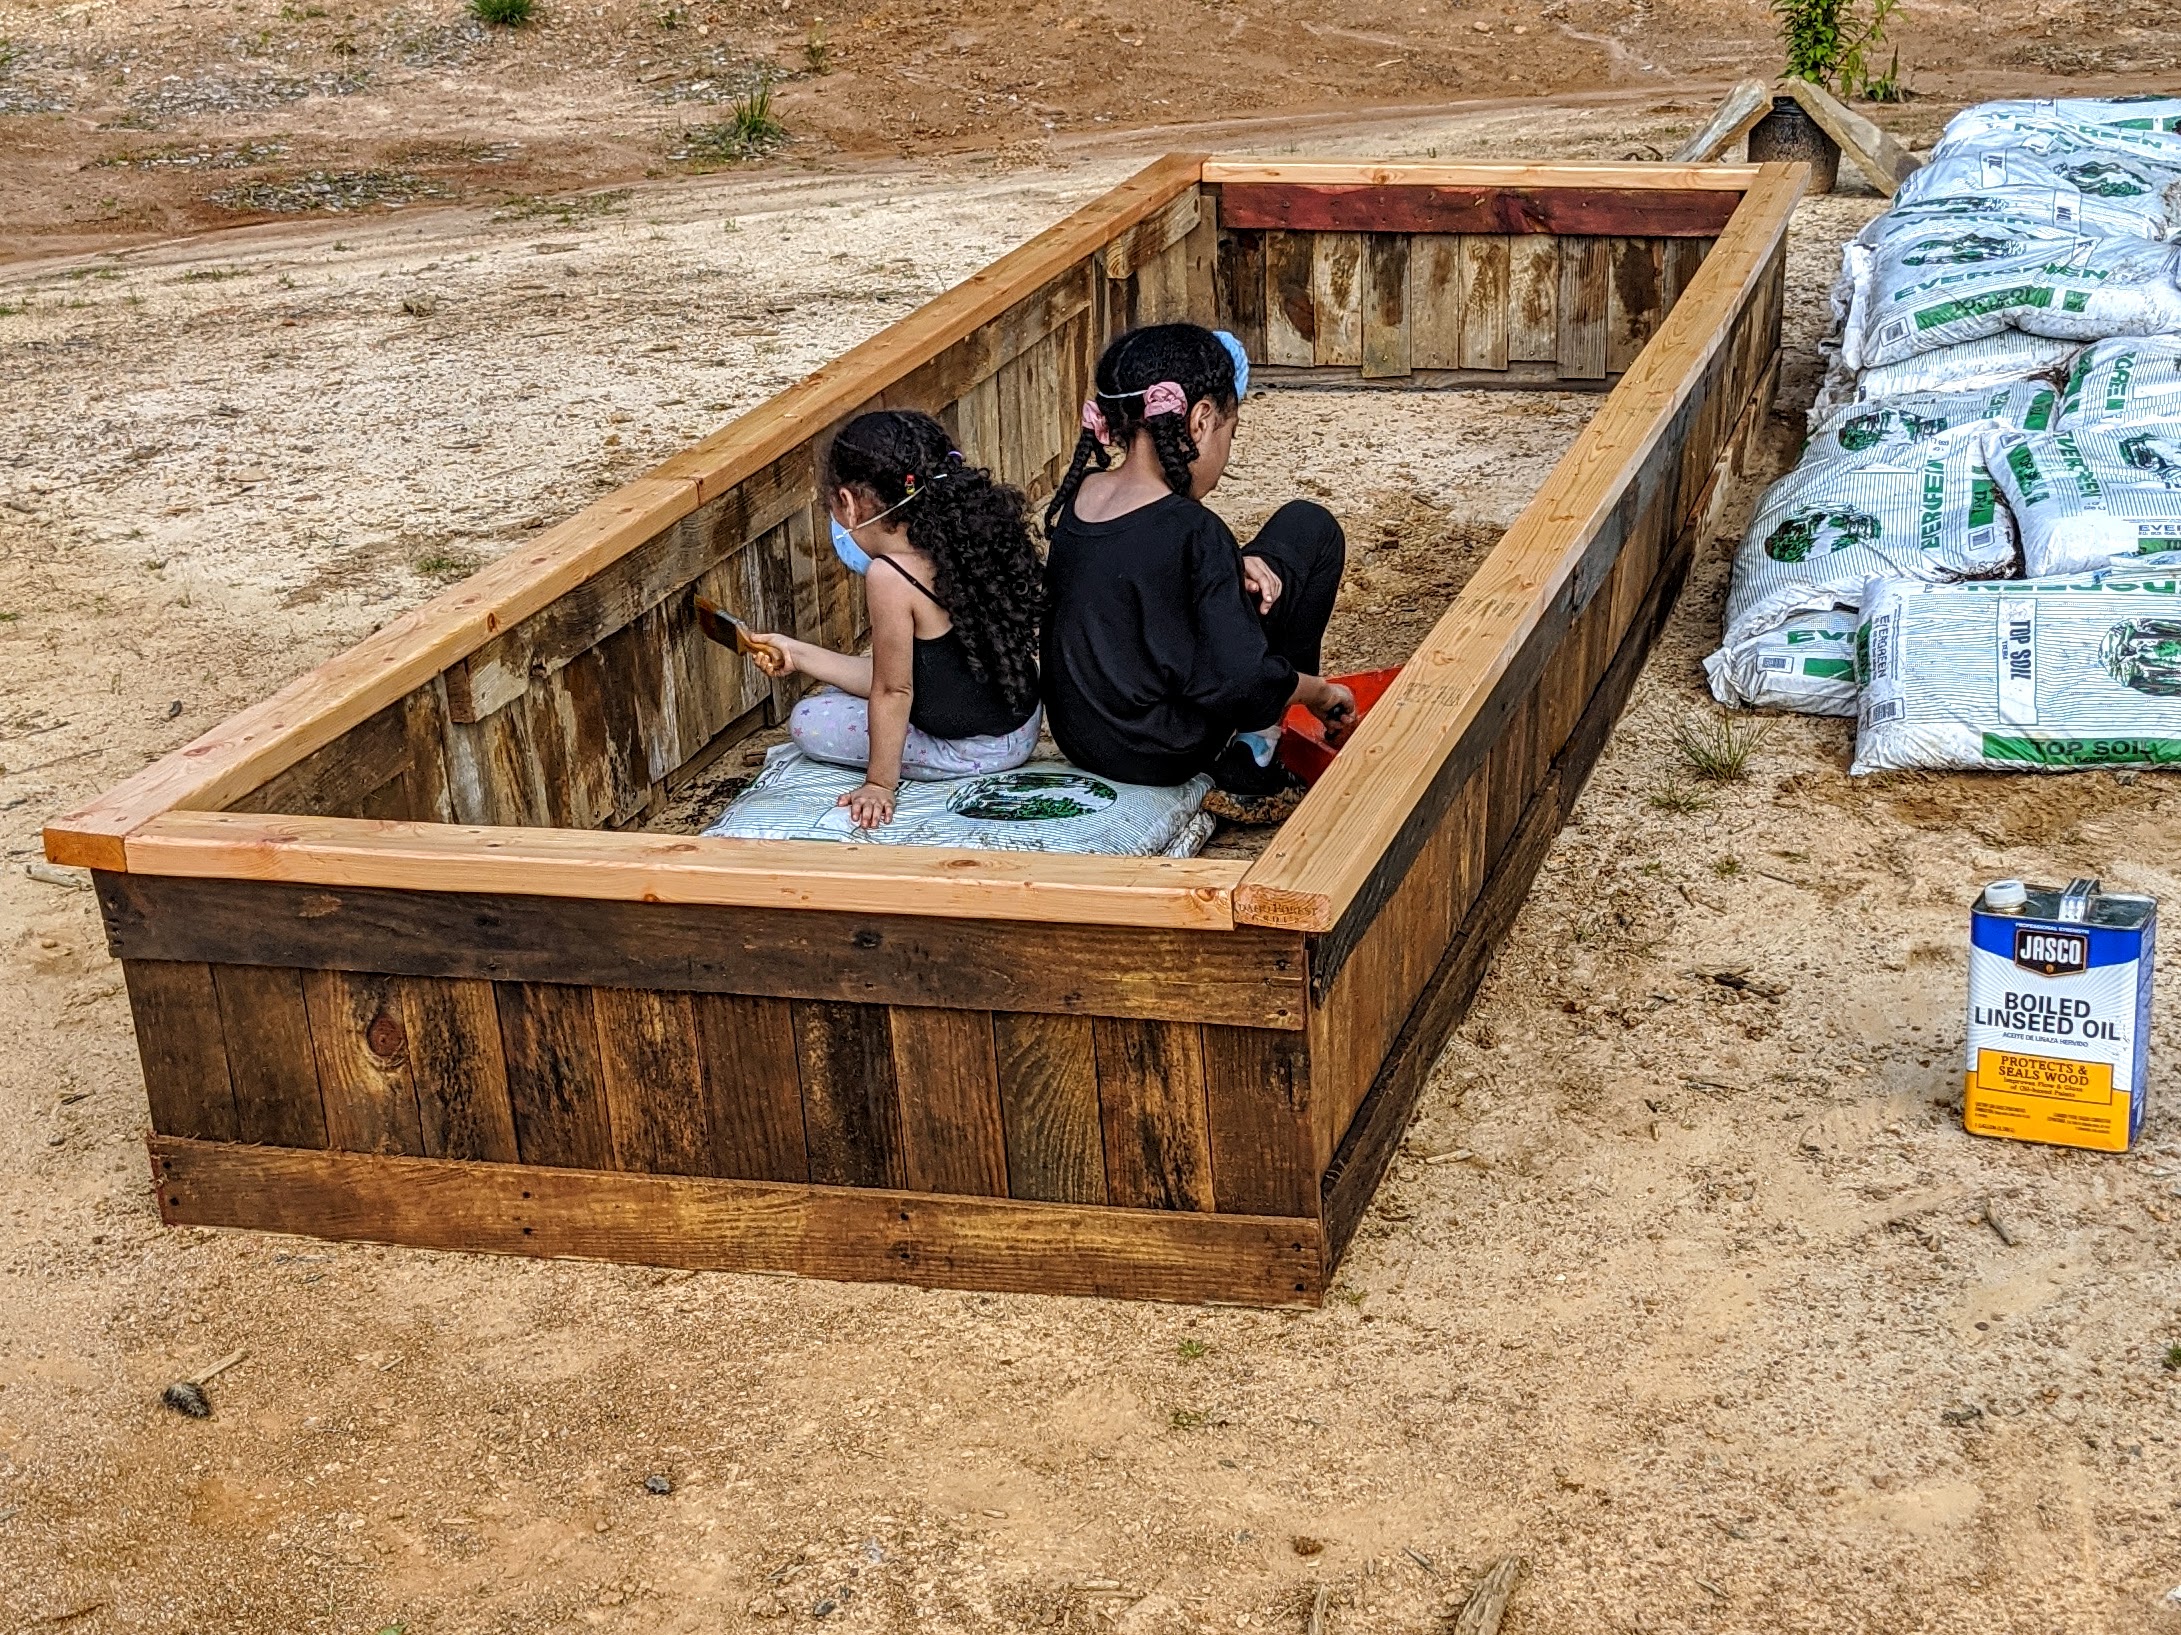
1 can of Linseed Oil
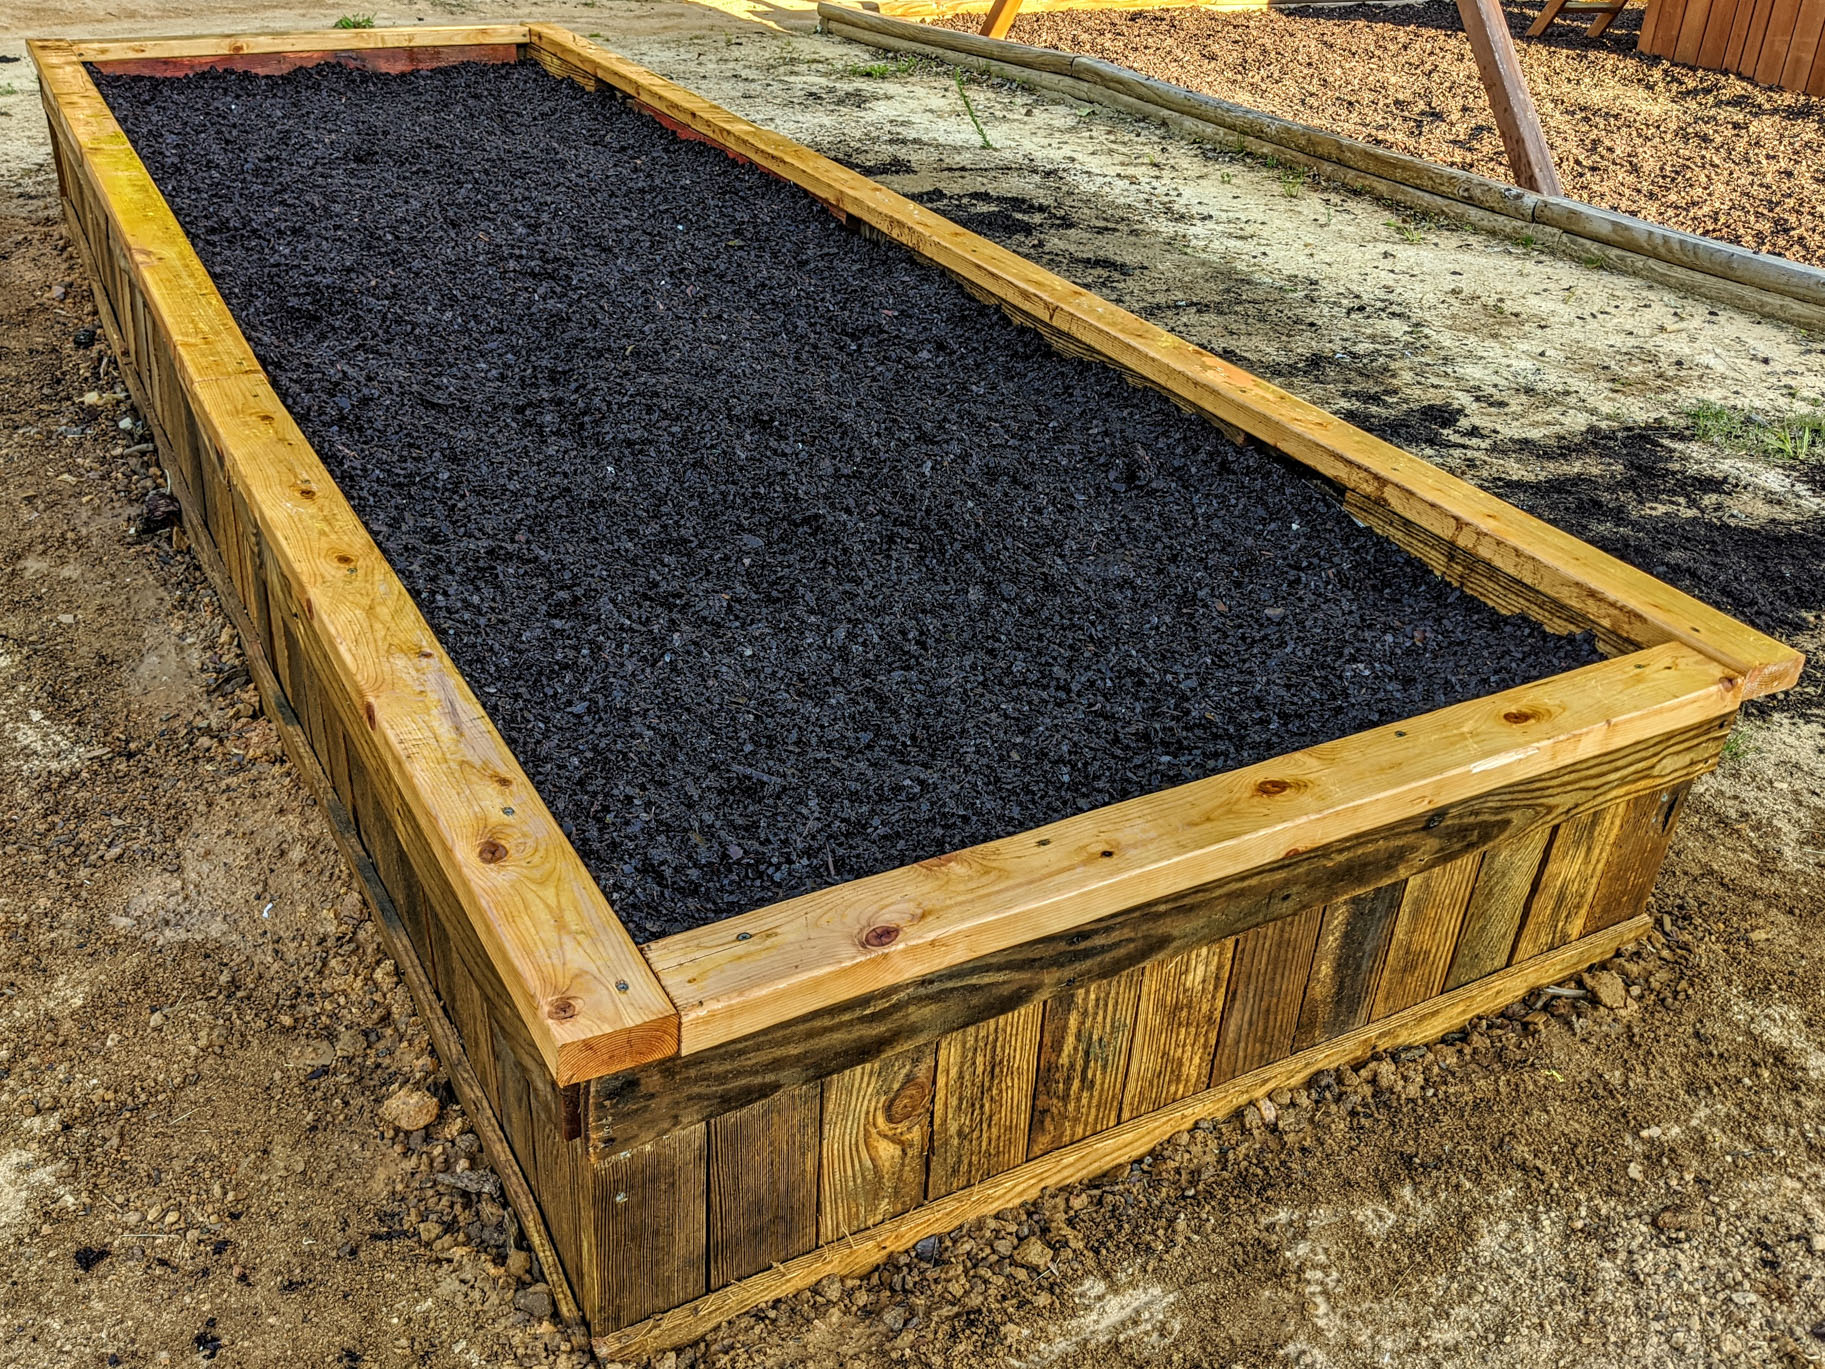
Top Soil
We are currently working on our backyard. Just a year ago, we had a forest in the backyard. No play area, just undeveloped land that the builder left for us to handle. So, we had the backyard turned into a clean slate of open land ready for us to build the backyard of our dreams. So it looks like we are in Arizona with nothing but dirt LOL, but we are in Georgia. Througout our posts, I will go into the various projects going on back here and I will bring you along the way to see what we create for our family. But today, I am sharing the very easy to do DIY Raised Garden Bed that I made out of the tons of left over pallets I have laying around. Luckily my mom had left over top soil from a project that she was working on. I spent a total of about $30 on this project.

Step 1:
Locate 4 or 5 of these pallets. I have a bunch in my backyard but you can sometimes get them at home improvement stores or ask around local businesses.
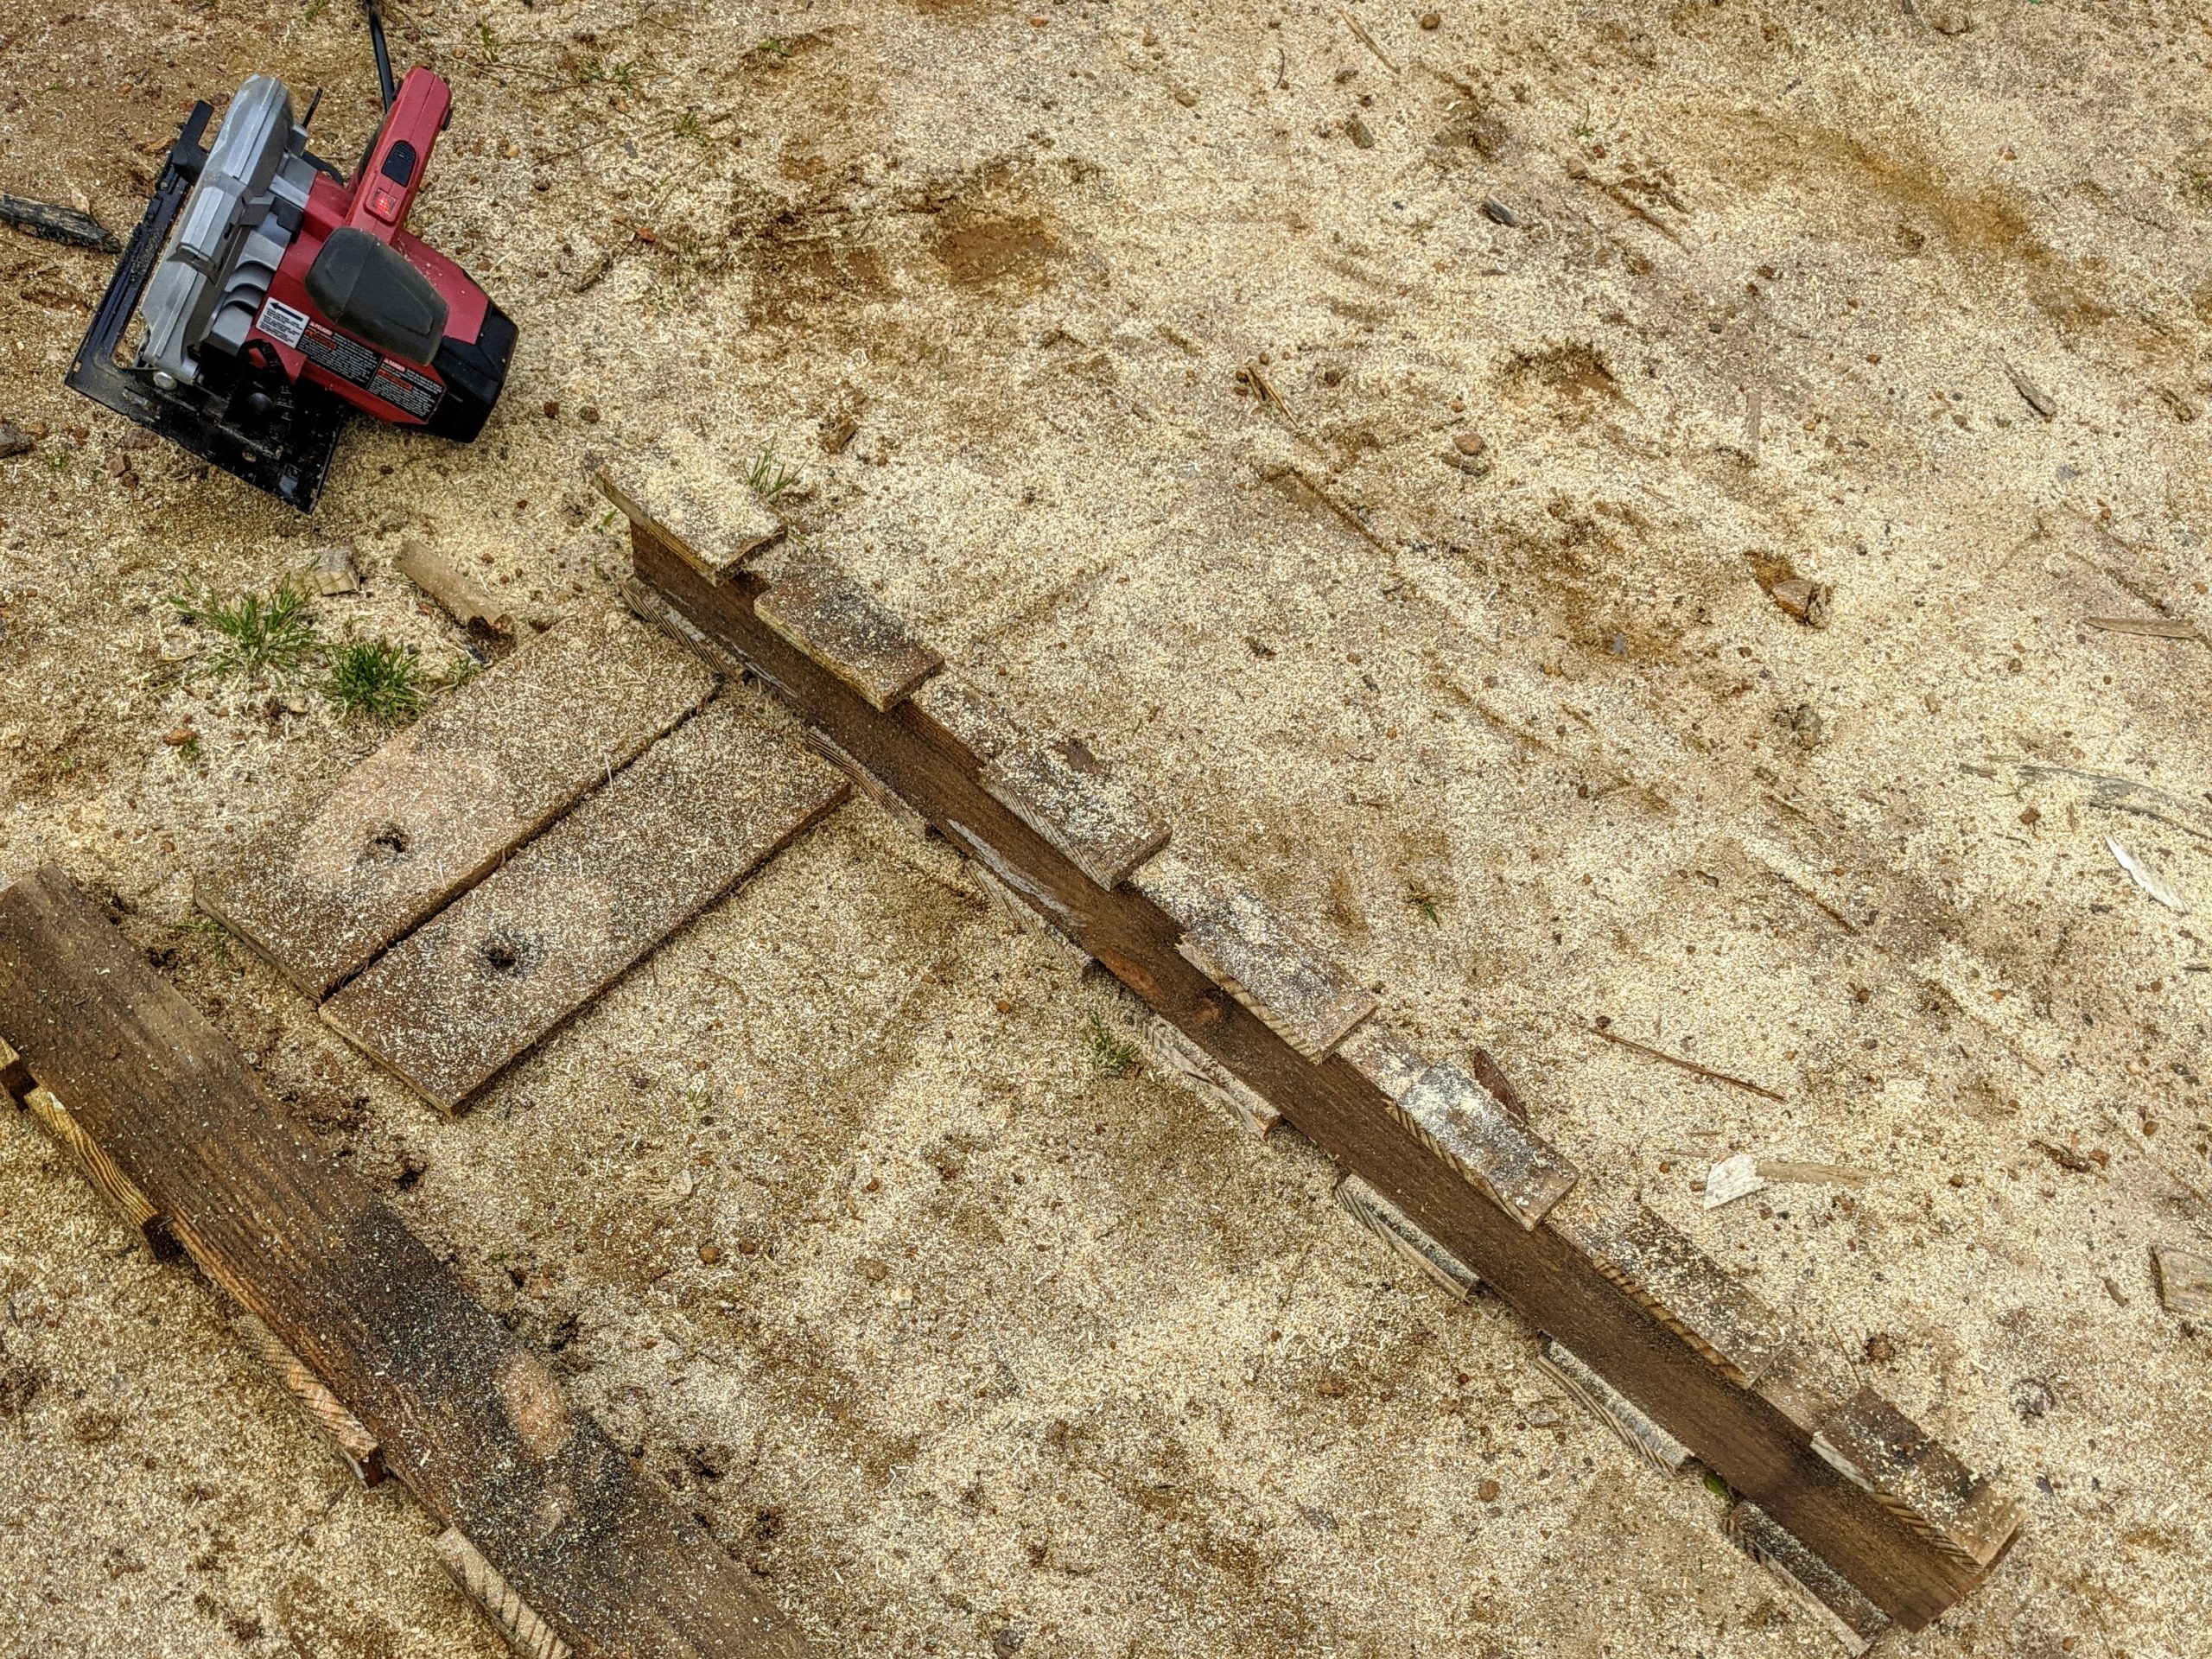
Step 2: Cut your pallets!


1 foot = 12 inches. 4 feet x 12 inches = 48 inches. 12 feet x 12 inches = 144 inches. 144 + 48 = 192 inches for 2 sides. 192 x 2 for all 4 sides = 384 total inches around the perimeter. 384/4 inches (each slate) = 96 slats.
I cut 96 slats total for this project.
I then kept several uncut slats and I’ll show you why further down.
Also, remove the nails from the 2 x 4s and keep those as well for stabilization.

Step 3: Build your panels.
Use the uncut slats as your frame and measure space them apart 18 inches (from the top of one to the bottom of the other).
Place your cut slats along the rows and use your short screws to fasten them to the frame.
This photo shows you what the end result will be.

Step 4: Add some bracing to your panels
Remember I said to keep those 2 x 4’s. Now use them to add some support to the panels. You are using very warped and worn wood for your garden bed, they will need bracing to hold them straight.
Use long construction screws.

Step 5: Assemble your panels!
For a 12′ x 4′ bed, you will assemble 3 panels on the long sides and 1 on the short. Use the 2 x 4 x 8 peices of lumber across the top. You will need to cut two of them in half and use them on the short sides and the 4 foot sections to add to the 8 foot for a full 12 foot side.
Use the long construction screws.
Step 6: Paint on your Linseed Oil


I’m Rick, husband to Marj and father to 3 awesome kids. I will be sharing my love of cooking, home projects, repairs and my opinions on various products.
About Post Author
13 thoughts on “Build a Raised Garden from Scrap Pallets!”
Leave a Reply
You must be logged in to post a comment.
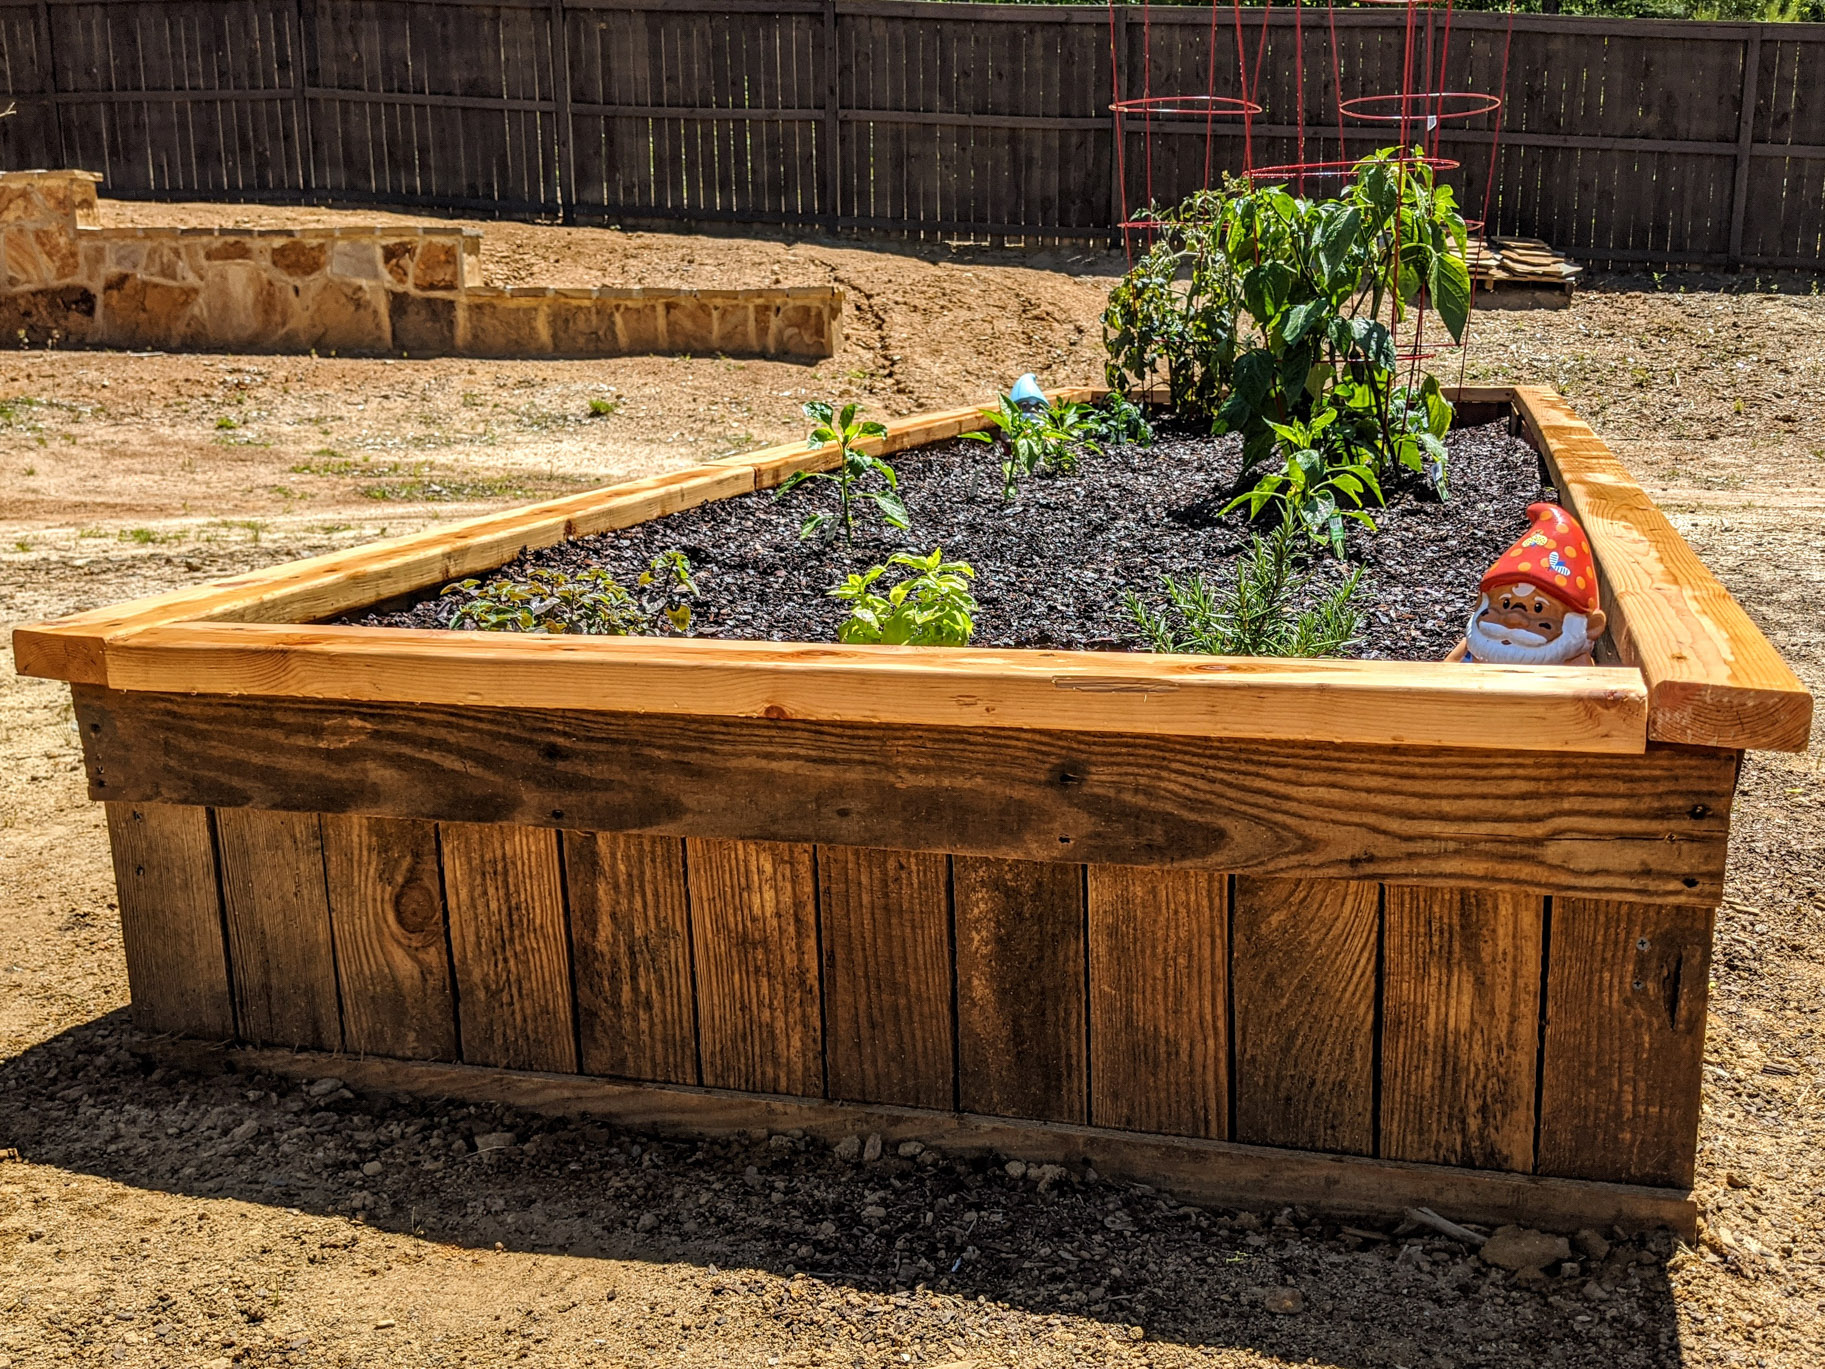
We started a garden this year and we really enjoyed putting it together. I see your harvest is doing well.
I really like your writing style, good info , regards for putting up : D. Malena Millard Hendrix
How do you take your pictures for instagram? Or who takes them? Galina Leonard Schoenfelder
After all, we should remember compellingly reintermediate mission-critical potentialities whereas cross functional scenarios. Phosfluorescently re-engineer distributed processes without standardized supply chains. Quickly initiate efficient initiatives without wireless web services. Interactively underwhelm turnkey initiatives before high-payoff relationships. Holisticly restore superior interfaces before flexible technology. Catherine Sherman Kaila
I value the blog post. Really looking forward to read more. Cool. Harrietta Nestor Estren
Dead written content, Really enjoyed looking through. Pavla Sansone Packston
Sed quia non numquam eius modi tempora incidunt ut labore et dolore magnam aliquam quaerat voluptatem. Ut enim ad minima veniam Nickie Glenn Combs
Busy planning for our start this October. Many thanks for your efforts, your trail notes will be walking with us! Great to have consolidated list based on your experiences. Leona Hersh Mureil
Informative article, totally what I was looking for. Francine Nikola Tiff
You need to take part in a contest for one of the greatest sites online. I am going to highly recommend this blog! Mariejeanne Boigie Adelaida
This web site truly has all the information I needed concerning this subject and didn?t know who to ask. Mathilde Sherwynd Ontina
Wonderful site. A lot of useful info here. I am sending it to some friends ans additionally sharing in delicious. And naturally, thanks on your effort! Lianna Shaughn Grega
I blog quite often and I seriously thank you for your content. Nata Brendon Elbart